
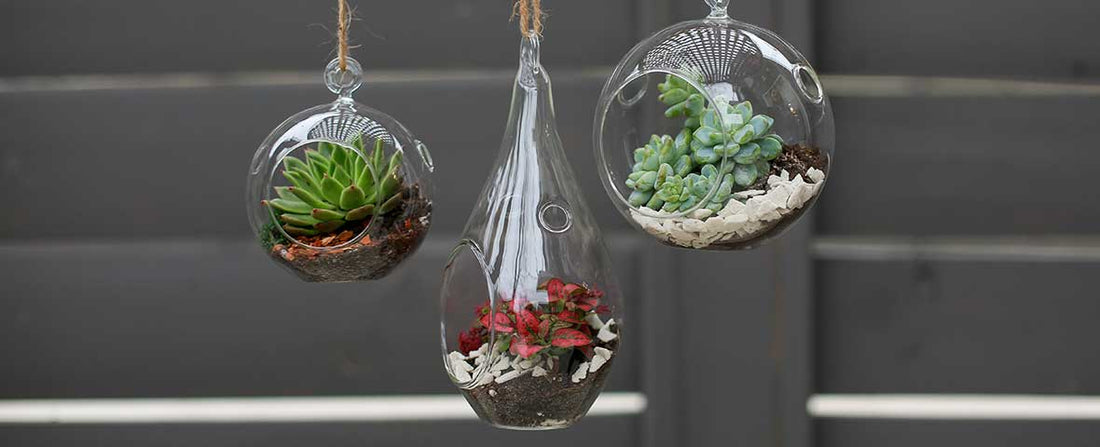
Although hanging terrariums look pretty complex; they are actually quite easy to assemble and better yet, maintain. Hanging terrariums do offer a bit more thought and careful planning than a traditional tabletop terrarium, but (here at 46&Spruce) we think the payoff of a beautiful living succulent garden suspended in mid air is worth it.
If you are interested in making your own hanging terrariums, you are in the right place. In this DIY guide we will walk you through the materials needed to craft your own hanging terrariums, the steps to complete the project and the proper care after your terrarium is strung.

For this project you will need:
- Hanging Terrarium
- Terrarium Hydrostones (or gravel)
- Terrarium Soil
- Various mosses
- Various Succulents
- A wall hook
- Chain or thick cord
- Spray bottle or mister
- Terrarium Tools
- Minerals, shells, or stones (Optional)
- Gloves (if your succulents have rough or sharp edges)
Directions:
- Gather your materials. Check out our beautiful Hanging Terrariums.
- The first step in assembly is lining the bottom of the terrarium with hydrostones (or gravel). Terrarium hydrostones are better than gravel because they are specifically engineered stones that allow succulents to receive the proper amount of air to their roots while providing the ideal amount of drainage to prevent root rot. However, if you do not have hydrostones, gravel will offer a similar effect.
- Next, you want to add a layer of terrarium soil on top of the gravel. This layer should be thicker than the layer of hydrostones. It should be deep enough to plant your succulents so their entire root systems are covered in soil.
- Next, use your tool kit to strategically dig holes for your succulents - while keeping in your desired arrangement. Specially designed terrarium tools will be particularly helpful for hanging terrariums with smaller openings; these tools are small enough to reach crevices that might not be so easy to access with just your hands.
- Plant those babies and make sure their entire root system is completely covered with soil. (If your succulents have sharp edges, you should wear gloves)
- Next you can add your mosses and any other aesthetically pleasing natural decorations to enhance your arrangement - such as natural gems, shells, stones, and geodes.
- Once you have your terrarium arranged how you like, it’s time to hang it. Some hanging terrariums have a chain that comes with them. If you purchased the terrarium without one, you’ll want to use thick cord to secure the terrarium. Assess the area where you plan to hang your garden and cut your cord to the desired length. (Make sure to choose an area that receives a moderate amount of sunlight.) Loop the cord through the hole on top of the terrarium and secure with a tight knot.
- Almost there! The final step in assembly is mounting a wall hook. You want to purchase a sturdy wall hook that can hold the weight of your terrarium. Try to locate a stud in your wall and follow the mounting directions on the package.
- Finally, hang your beautiful terrarium!
- Maintenance: So… now you’re probably wondering how to water succulents in mid-air. For a hanging terrarium, ditch the water can and get a spray bottle. Not only does this make it easy to water your plant babies in their hanging home, but it also moderates the amount of water you give to them - making it more difficult to over water and cause root rot.
Now that you are equipped with all the information on how to create your own hanging terrariums and maintain it afterwards, check out 46&Spruce’s selection of Hanging Terrariums to get started on creating yours today!